
Do you enjoy the content ? DONATE with PayPal to support me !
Get $5 of NEW USER FREE CREDIT using PCBWay. Full feature custom PCB prototype services, PCB assembly, SMD stencils, CNC / 3D Printing.
Introduction
Get yourself a really nice 3D printed mini CW key great for POTA / SOTA or for practicing the Morse code. I just finished adding the last touches. I love it and I cannot wait to start learning the code so I can get on air later on. Now it’s time to build a simple Code Practice Oscillator.
The 3D Project
I am not into 3D printing. I prefer to build stuff out of wood, brass or aluminum. But since I keep promoting the 3D Printing Services from PCBWay, I thought I should also use it. The idea for me was to replicate the project out of wood and brass later at some point.
I started searching online and I found the Printables website with a bunch of interesting 3D projects. That is how I discovered the original project. What I didn’t like about the original file was that it had the wire hanging out and it didn’t look so nice. There was also the practical issue as the wire was easy to break this way. After a little research, I discovered the modified project. This one had the wire going underneath, so it was protected in a way. Also there was a bottom cover that I really loved. Unfortunately at the time I made my order at PCBWay, I did not discovered the modified files so I ordered the original design. Since the modified version did not contain all the necessary files, I created a folder down bellow that has all you need to print it.
Building The 3D Printed Key
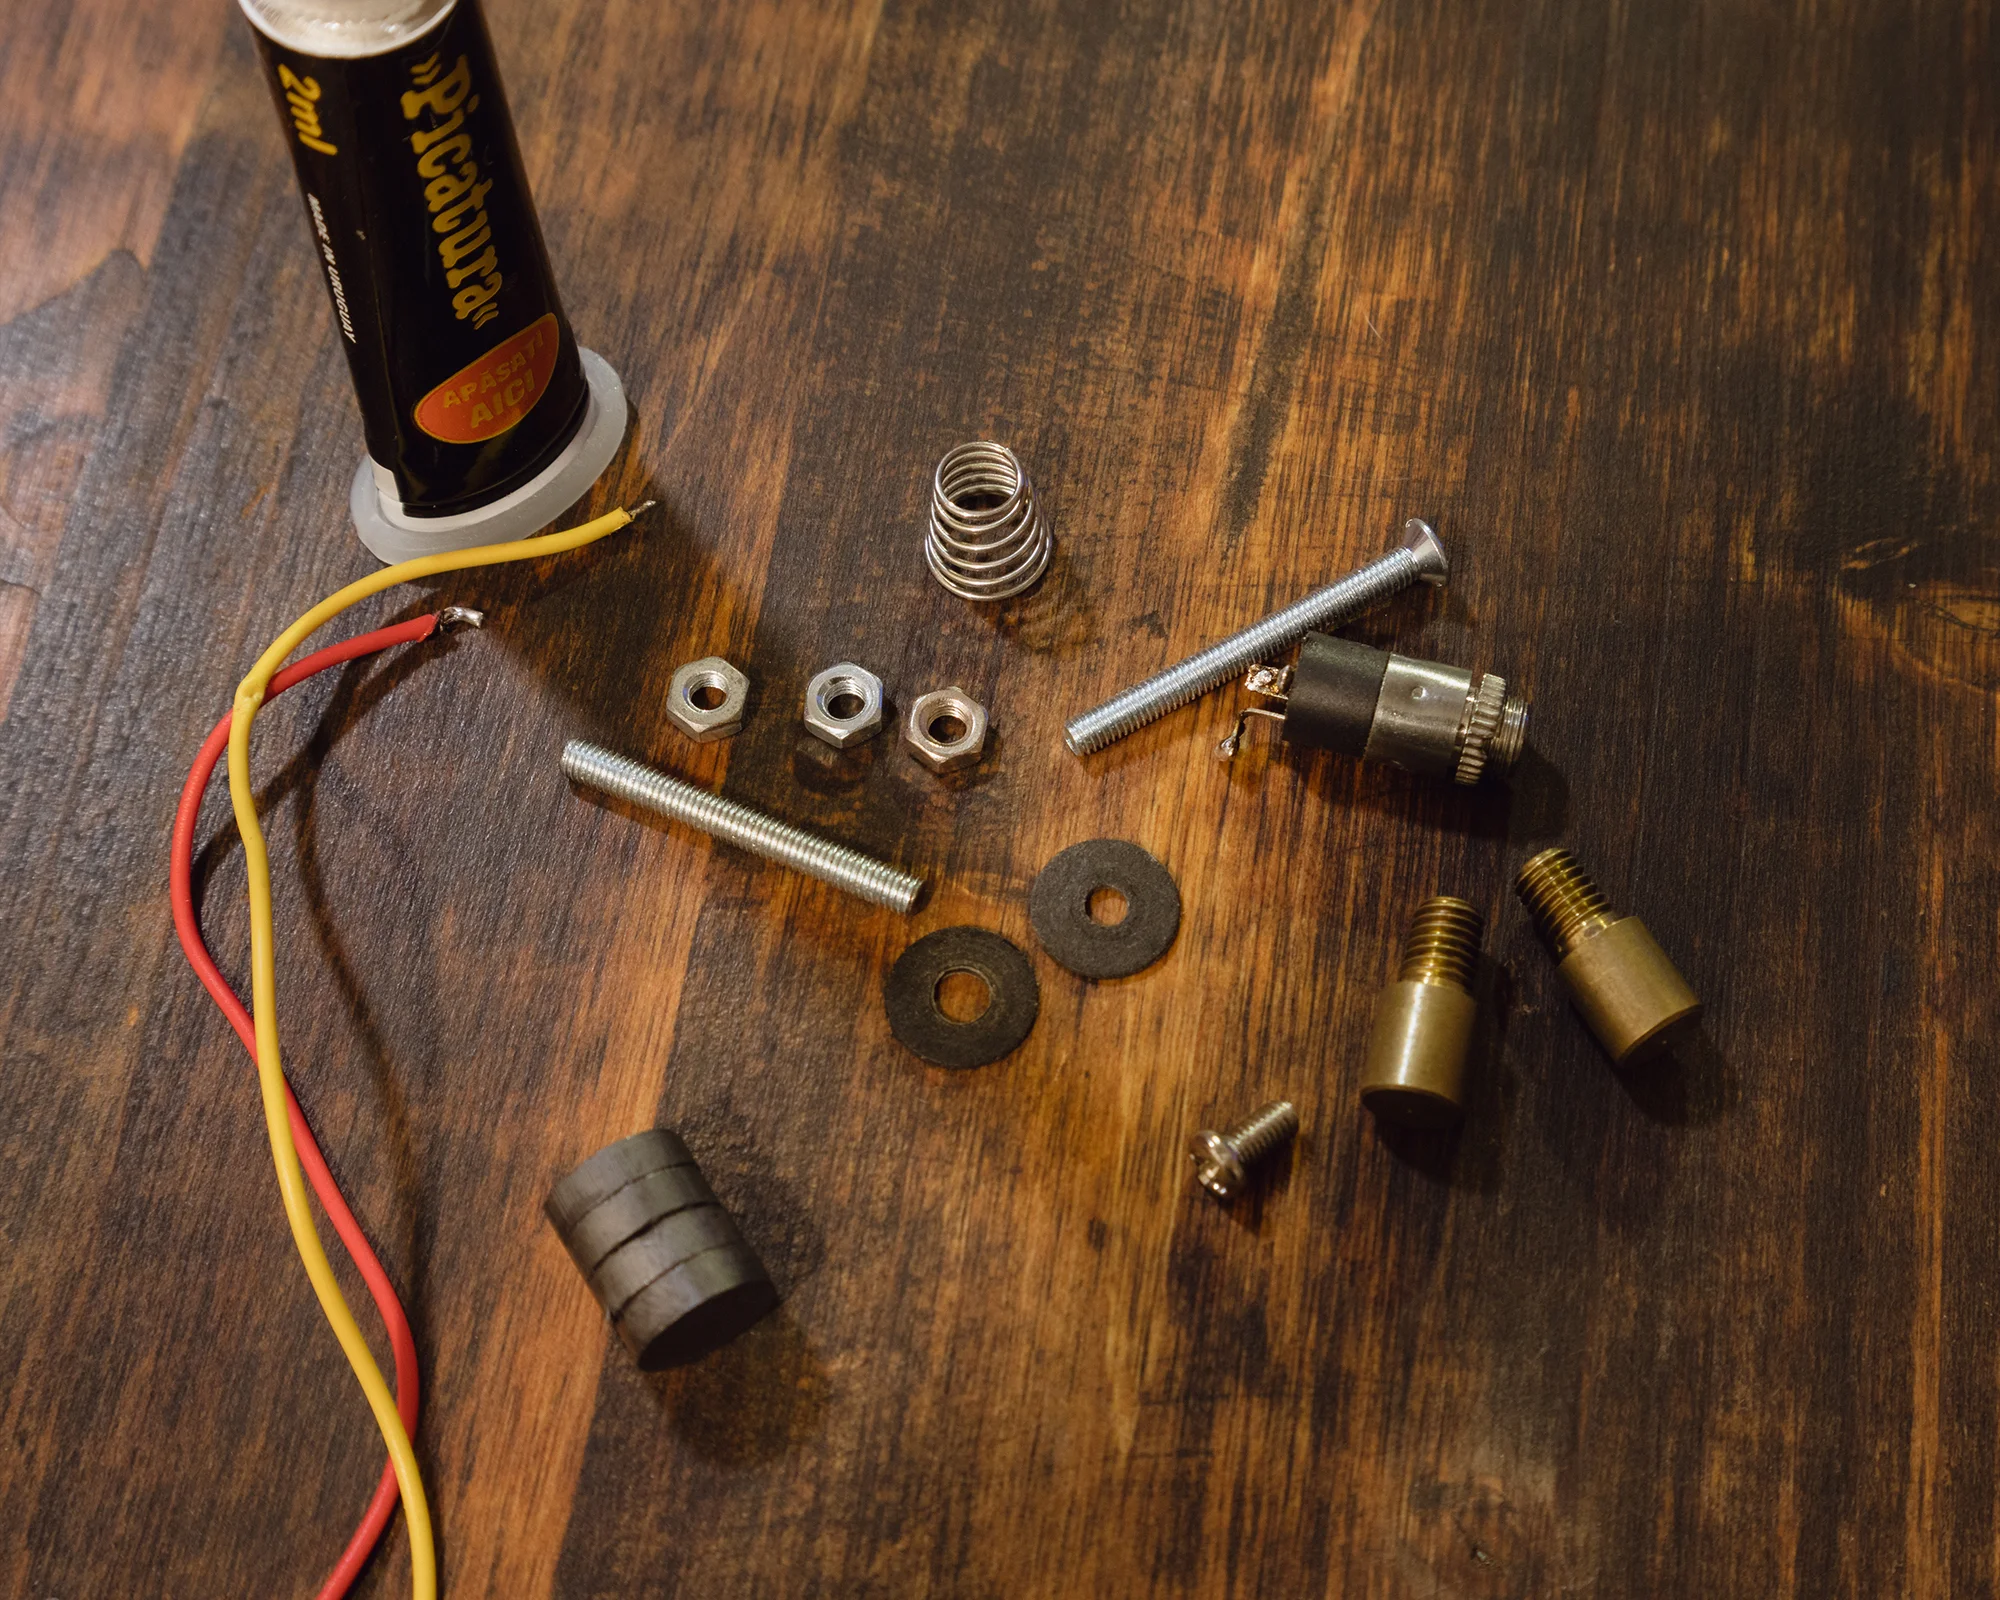
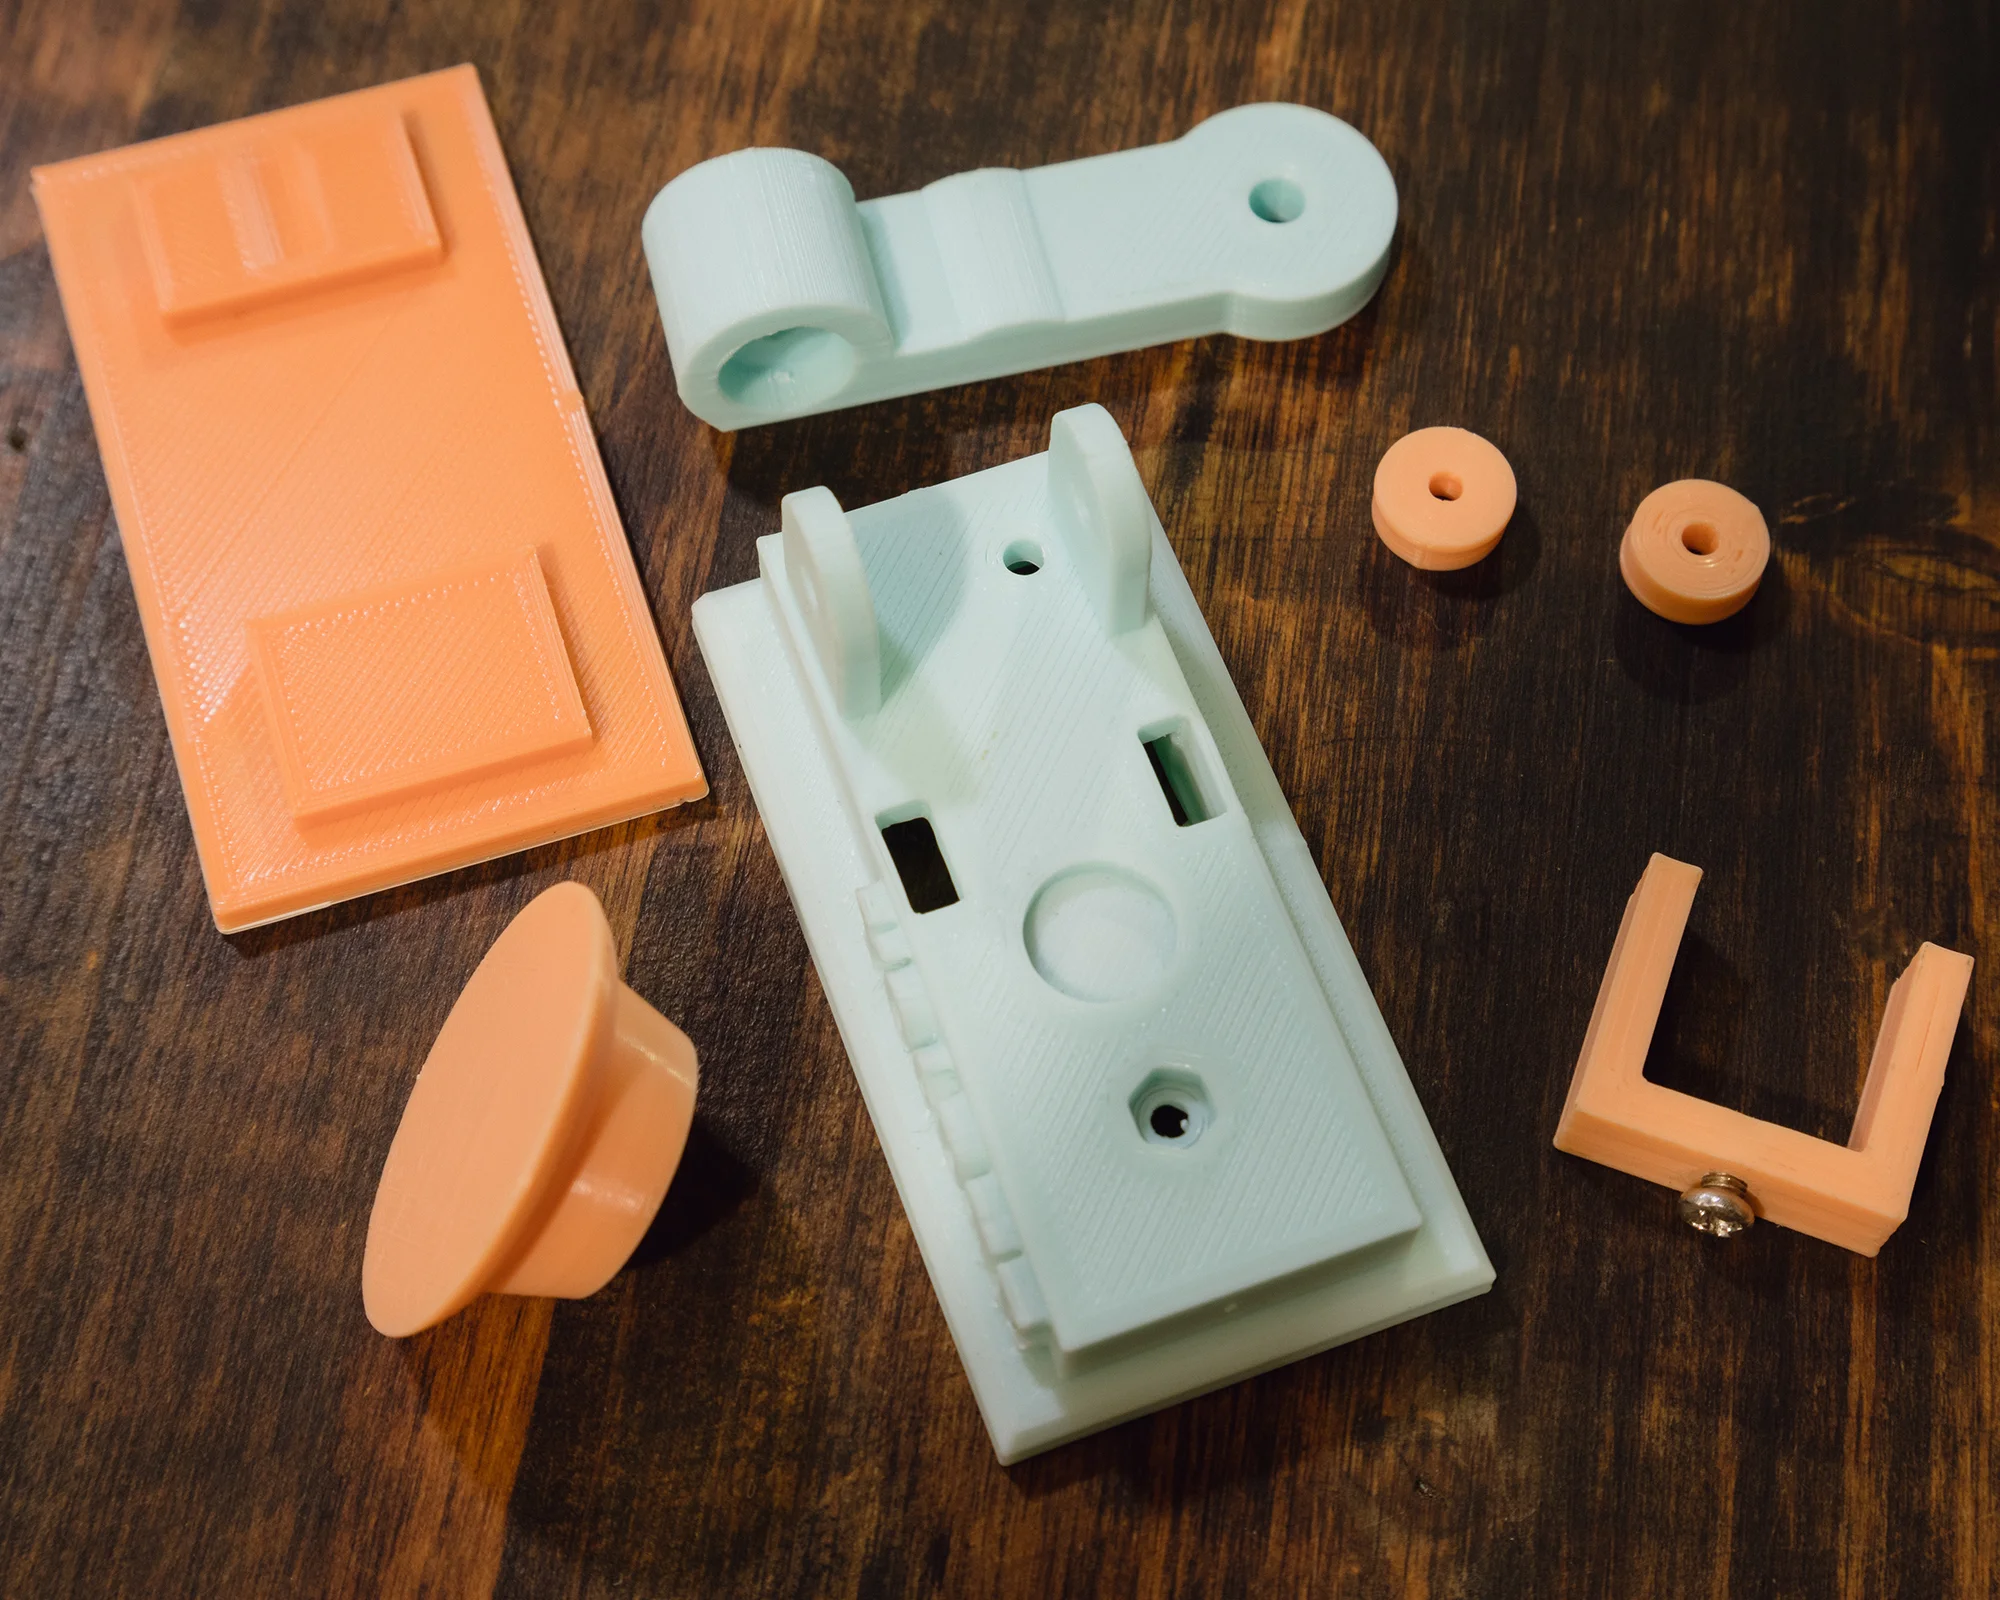
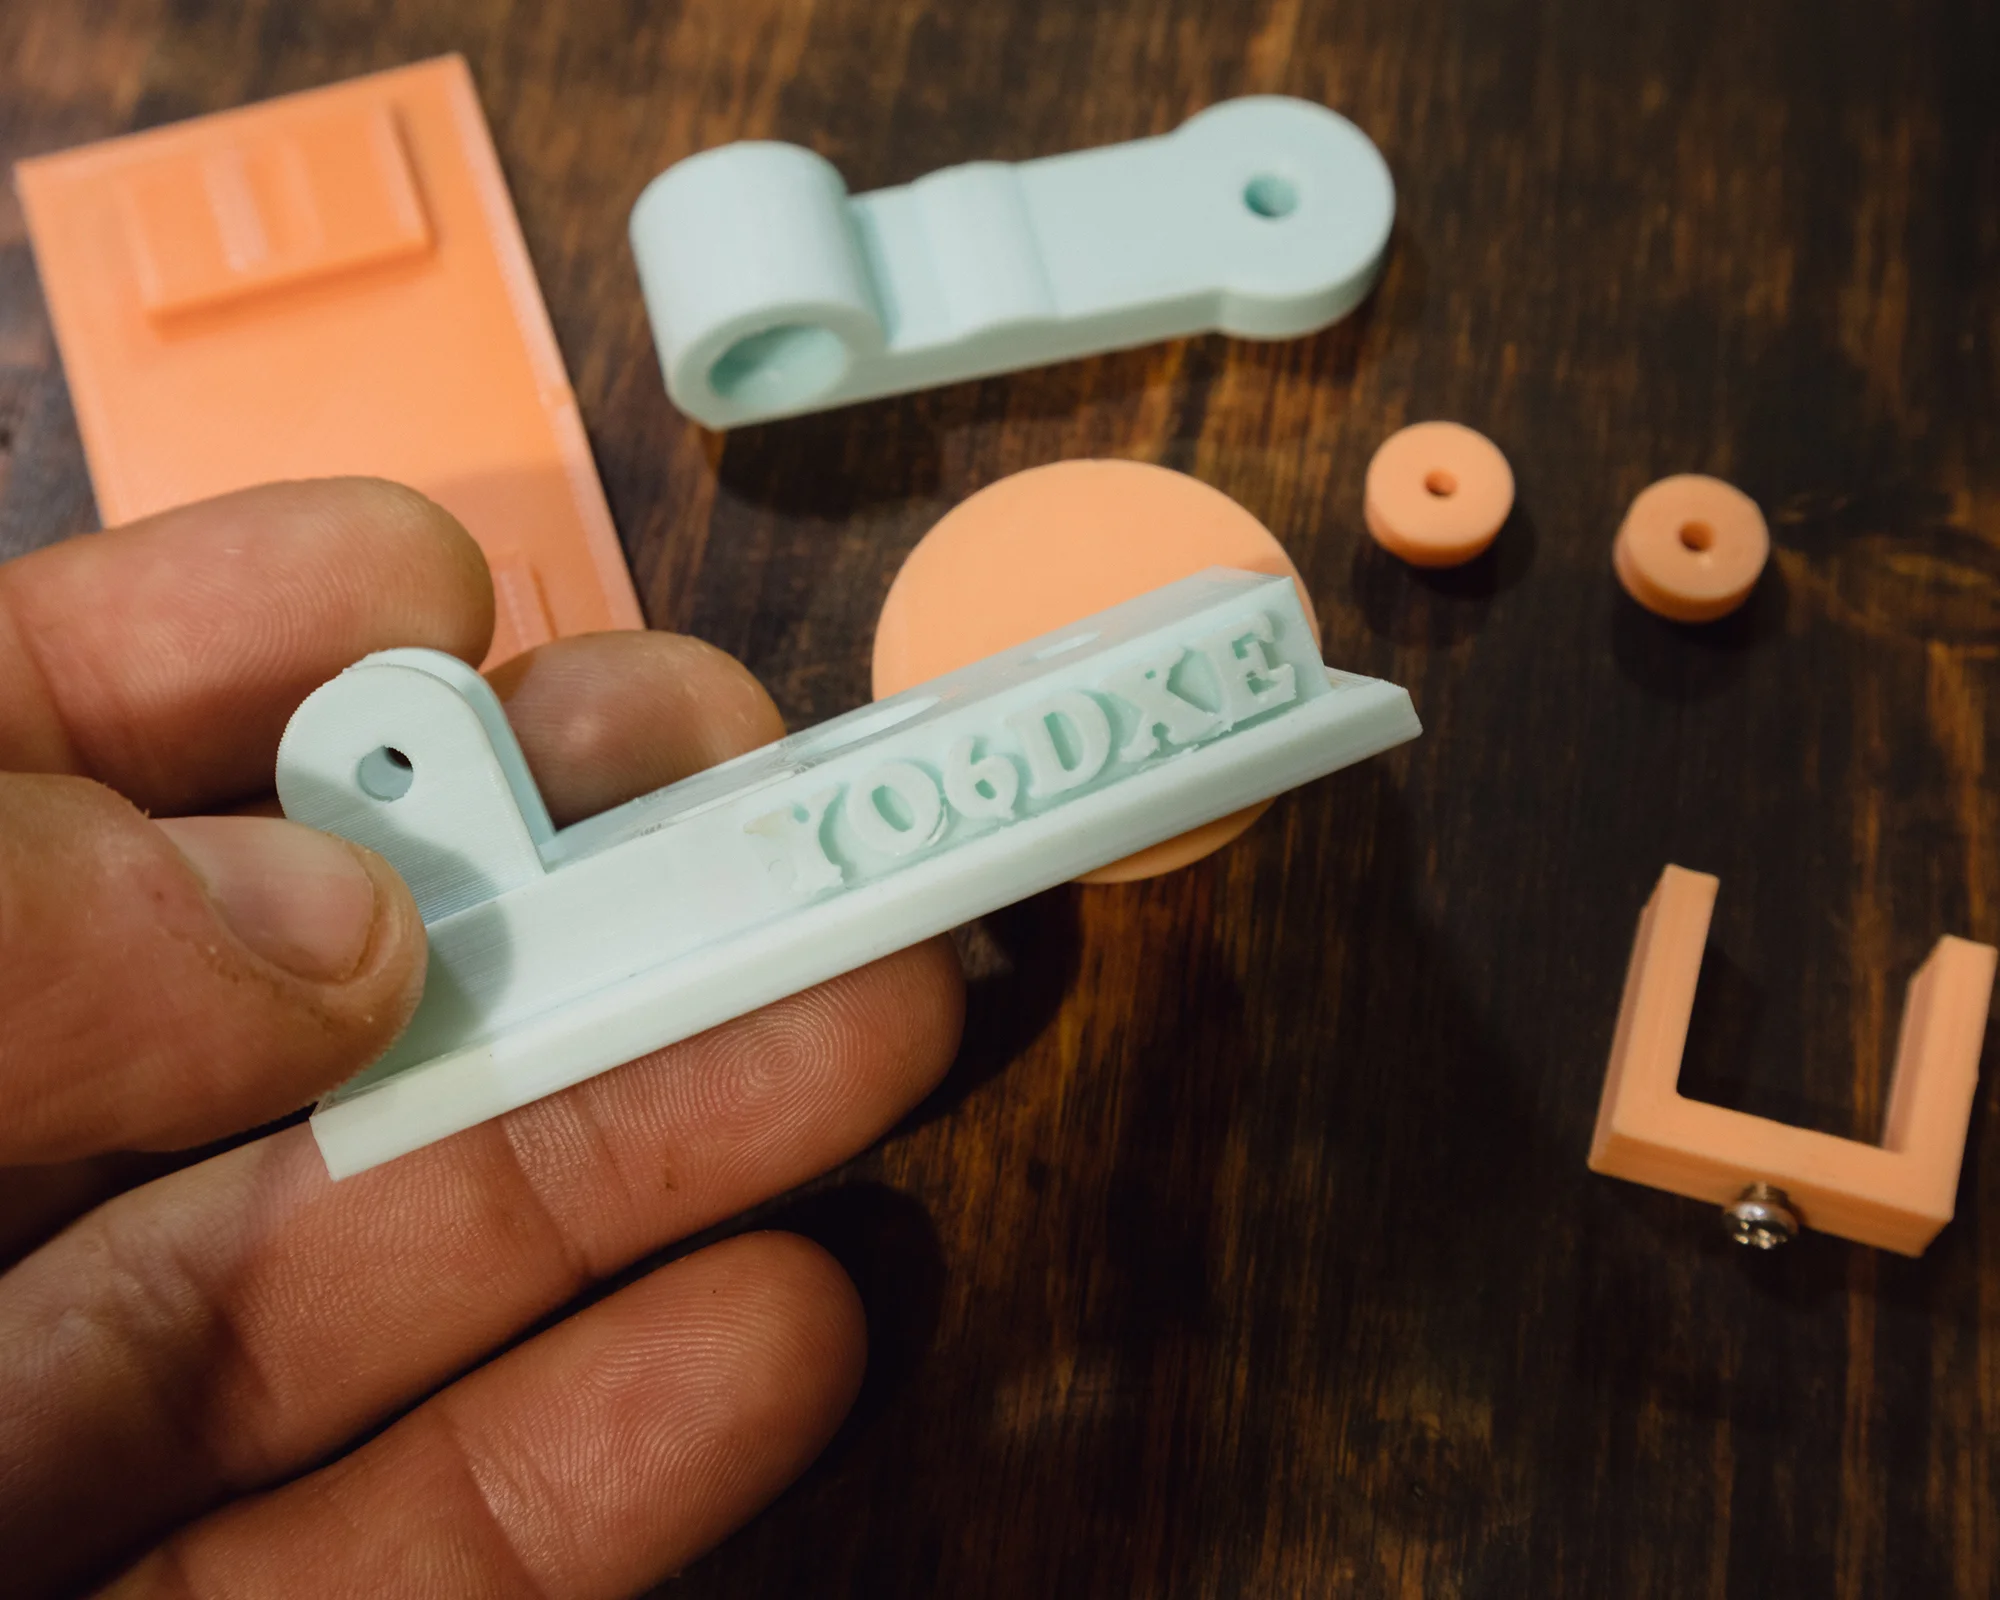
After you receive all the 3D printed parts, it’s time to put it together. You will also need some extra stuff to have it completed. In the photos down bellow you can see the exact audio connector I used ( stereo but I only used the GND and the tip ), the magnets ( sadly not strong enough ), some wire, screws and nuts. For the long screw that goes from one side to the other, I had a regular one where I cut the end of it so I can use nuts on both ends. I also used two plastic washers on the inside. There is nothing complicated to be honest and the key it’s really easy to put together.
The only thing I did not had in the photo was the bearings. I ordered those later on. If you do not have those, in the files you also have a replacement that you can print. Since I was not happy with the magnets, for the next one I am building, I plan on using a spring instead of the magnets. For the contacts I didn’t used screws as in the original design, so I replaced them with some pieces of brass I made from some other things I had around. I spent a lot of time filing them by hand until they fitted. In the photos you can see the CW key I am currently working on. This one was custom printed and sent to me as a gift by Paul – YO2CPS and I would like to thank him for this.
The Finished CW Key
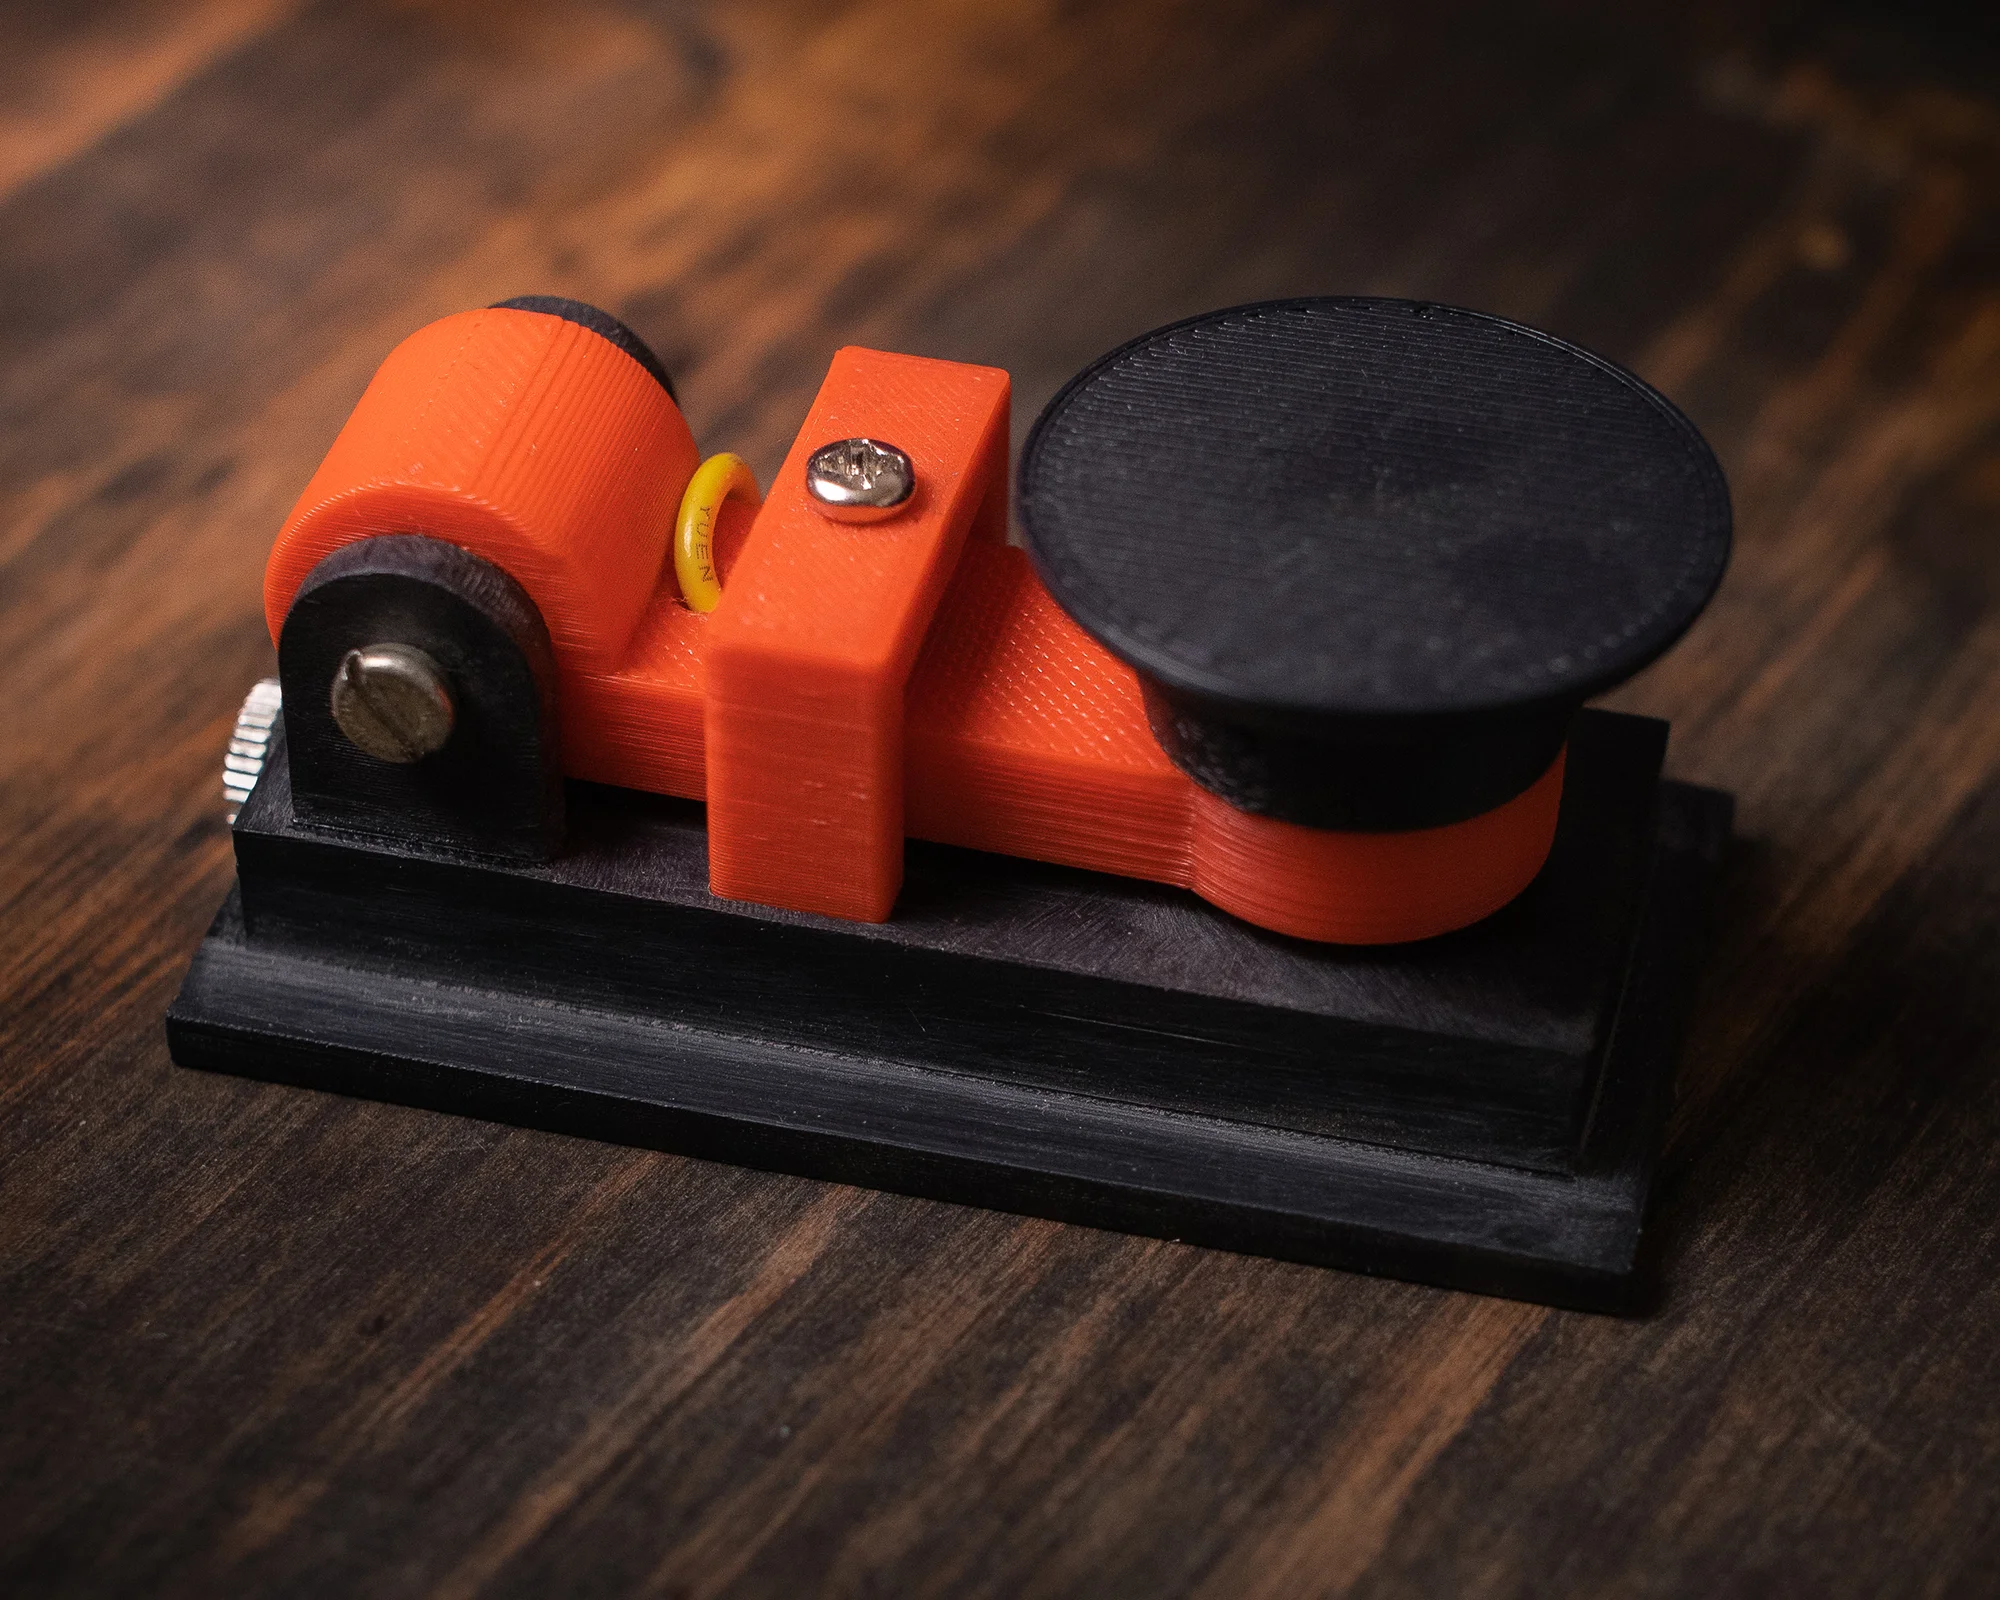
Here is the finished key ( the original design ). I was out of patience to put it together when I received it from PCBWay. The key is really tiny and it works fantastic. As you can imagine now I am out of patience to finally learn the code. It’s been three years since I have my license and I have no QSO in CW. What a shame right ? This winter I will clearly be busy learning and practicing.
3D Printed Mini CW Key
The size and weight of the CW key makes it perfect for packing, I find it great for those into portable ( SOTA, POTA, etc. ). At this point I started using it with my Pititico 2 CW Transceiver. I am looking forward though, to build it out of wood and brass pieces. I honestly like a lot more things that I build by hand rather than 3D printed. It feels like they have more personality and meaning. Anyway… I hope you like this key and if you have any questions, don’t hesitate to ask in the comments.
73, YO6DXE